What is Schema Markup?
The Schema Markup is a semantic vocabulary added to the website to help search engines read and understand the website content. It is a collaboration between Google, Bing, Yandex, and Yahoo that has resulted in the creation of schema.org. The schema data allows Google and other search engines to use it as a rich snippet. For example, when you search a food recipe, Google shows a few rich snippets with that identifier; the data is fetched from Schema. Likewise, a review blog can have a star review schema for a section or a product listed on the website.

In technical SEO, schema markup is one of the most neglected techniques. SEO experts say sites with Schema markup have better CTR (Click-through rate) and rankings than those without Schema.
With the help of Schema Markup, you can mark all kinds of item ranking from product to food recipes. You can provide different information to the search engines about your website using schema markup. Some schemas are mentioned below.
A complete list of Google allowed schema markups can be found on this link under “Change your Search appearance” -> “Using structured data” -> “Feature guides”
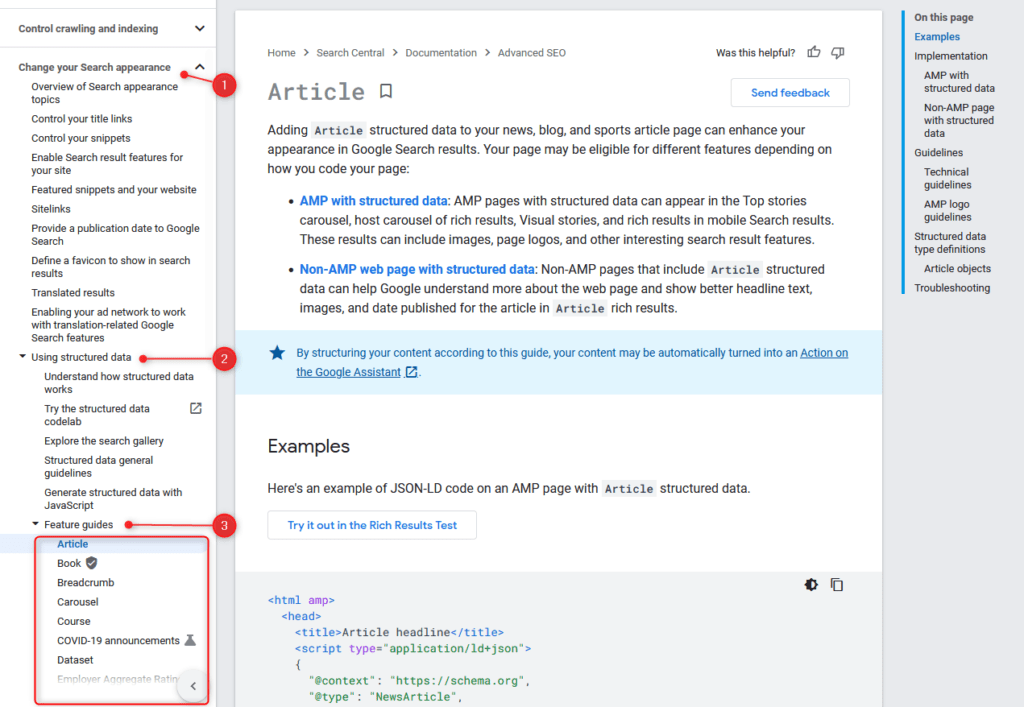
Popular Formats to Implement Schema Markup
Generally speaking, there are three main formats that are vastly accepted by popular search engines to implement the schema markup on a website.
Note: JSON-LD is being the most recommended way to implement it.
How to Implement Schema Markup
In this article we will discuss two popular ways to implement schema markup on a website:
- Implement schema markup on a CMS based Website (WordPress).
- Implement schema markup Manually using code.
How to Implement Schema Markup on CMS Based Websites?
The CMS like WordPress has a range of plugins that help in the implementation of schema markup on a website without much effort. Some popular plugins are:
- WP SEO Structured Data Schema
- Schema & Structured Data for WP & AMP
- All in One Schema Rich Snippets
- Schema
- WP Review
In this article, we will show you how to implement schema markup using Schema & Structured Data for WP & AMP plugin but before starting, let’s explore the functionality and the features of the tool. At the time of writing this plugin has a 4.7-star rating and more than 90,000+ active installations. Using the plugin, you can easily add Google-rich snippets markup according to Schema.org guidelines.
This plugin provides a wide range of schema types that you can implement on your website. Some schemas provided by this plugin are Blog posting, news, article, local business, webpage, food recipe, product and video object. A complete list of schemas provided by this plugin can be found here.
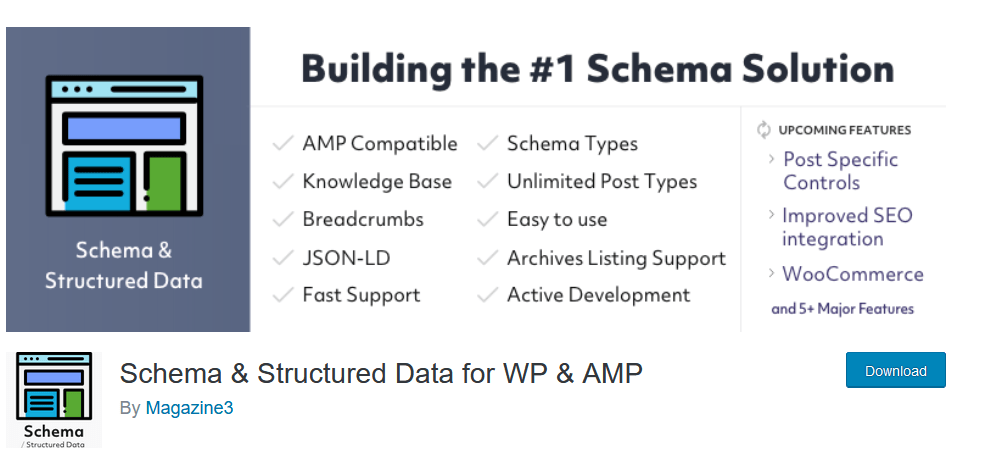
Now let’s see how to add schema markup on your website using Schema & Structured Data for WP & AMP plugin.
First of all, install the Schema & Structured Data for WP & AMP plugin and activate it.
After installing the plugin follow these steps:
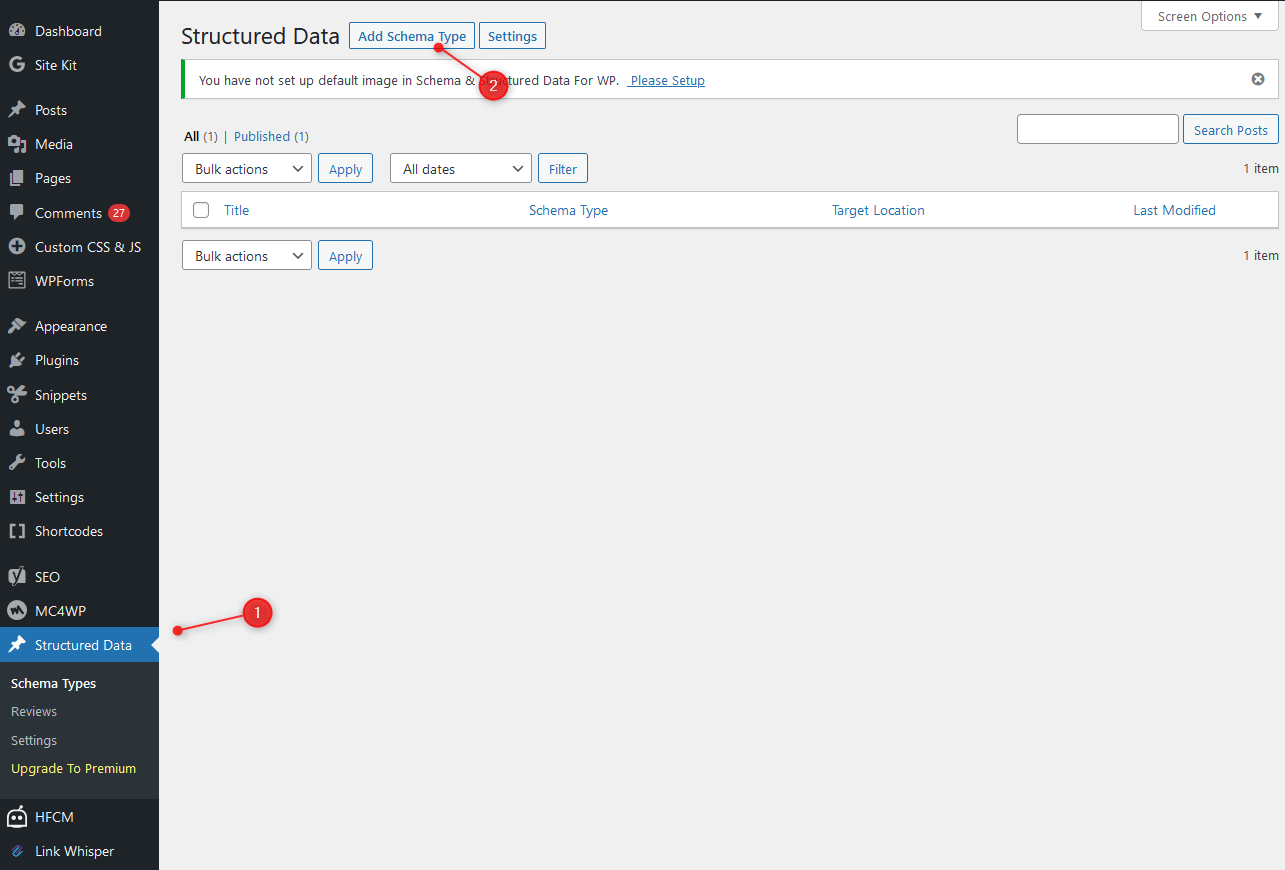
- Go to the “WordPress Dashboard” -> “Structure Data option panel” -> Click on “Add Schema Types”.
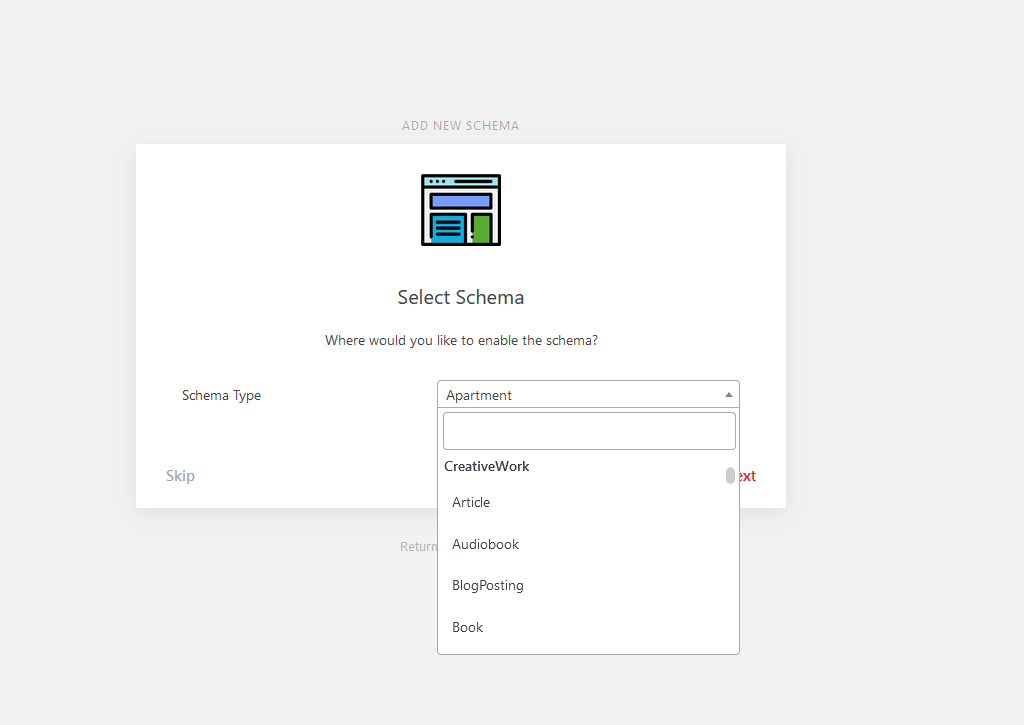
- Choose the Structured data “Schema type” from the dropdown list such as WebPage, Blog posting, Article, etc.
- After selecting the schema type, you need to set the filter or a condition for the specific post types or pages on which you want to implement your selected schema.
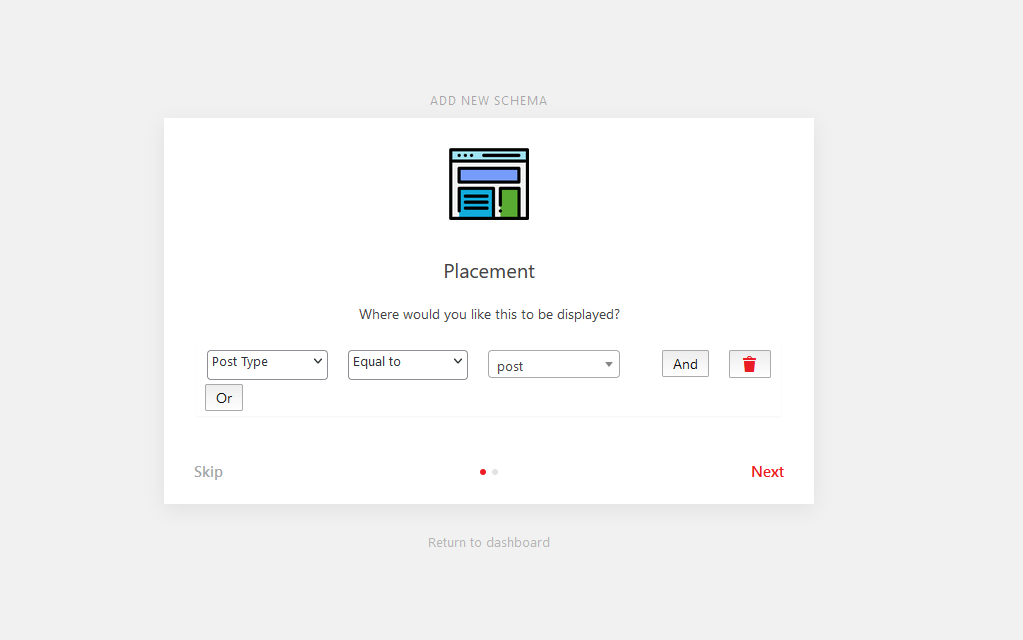
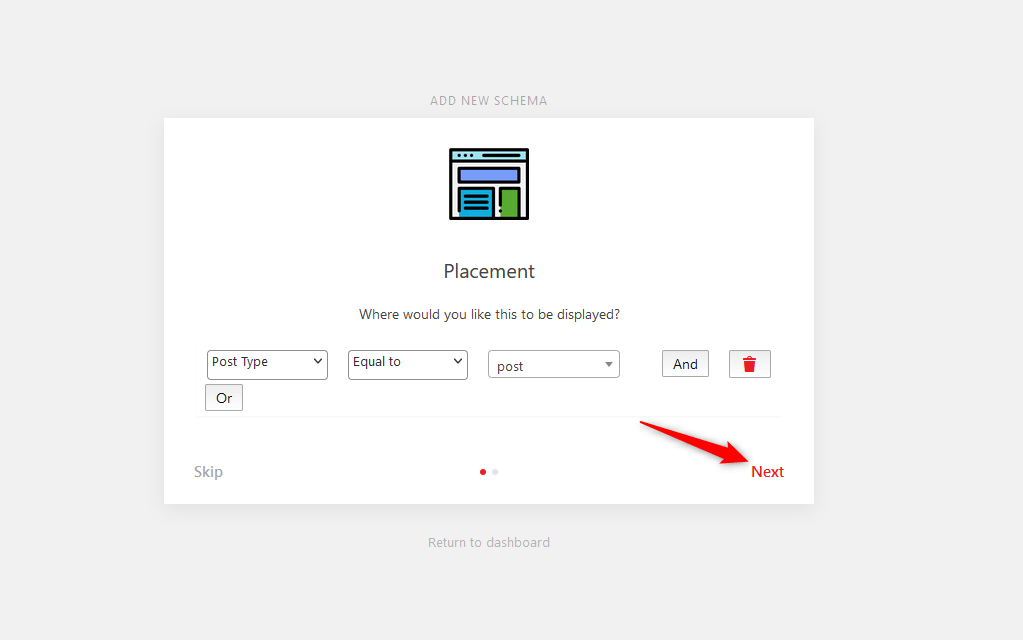
- After selecting your desired post type and pages click on the “Next” button.
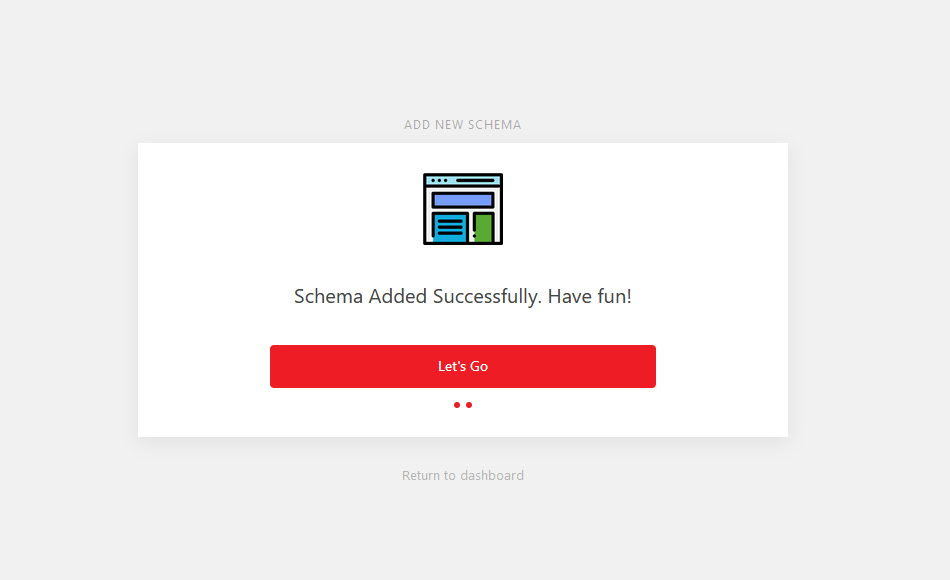
Wolla Congrats, your schema markup has been successfully implemented on desired post types and pages.
NOTE: If you want to implement a different schema for a post or page, you can do that. Just simply repeat this process and select your desired schema for specific post/page.
Adding Schema Using Online Schema Generating Tools
If you are of the view that plugins add extra coding to your website and make it a bit slower then there is another way to add schema markup to your website and that is by using an online schema generating tool.
To add schema markup to your website using online schema generating follow the below-mentioned steps:
- Go to this online schema generating tool.
- From the dropdown list select the schema type that you want to add to your website e.g article, Event, Local Business, Organization, person etc.
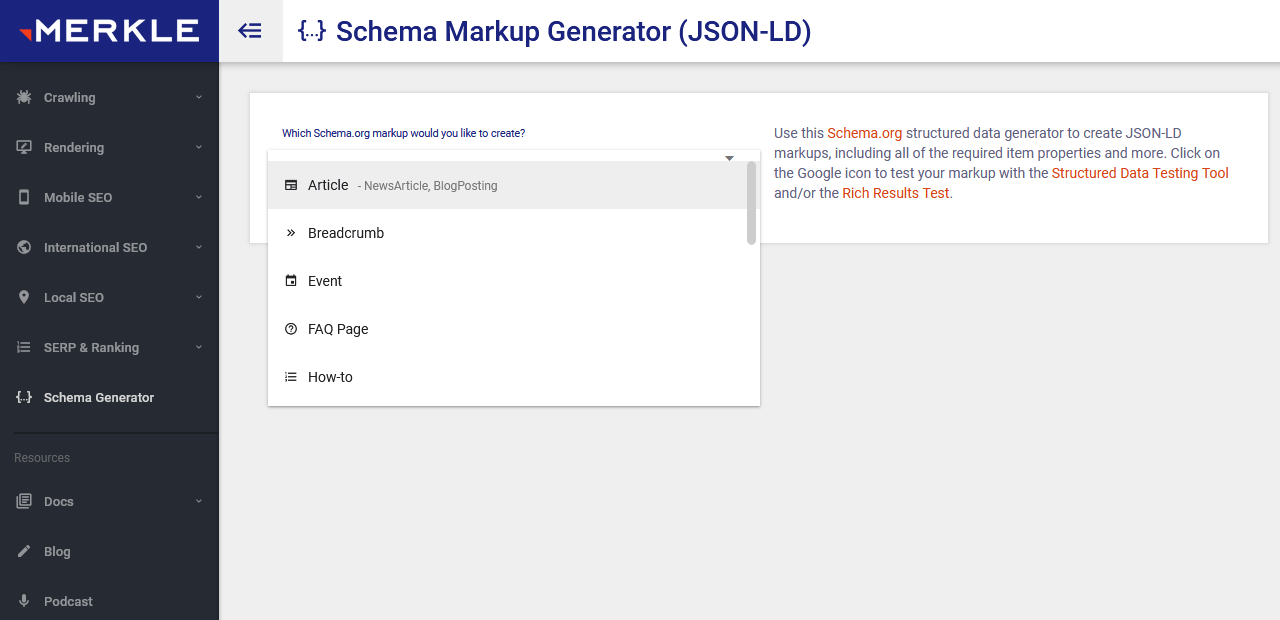
- After selecting the schema type, fill in the required information.
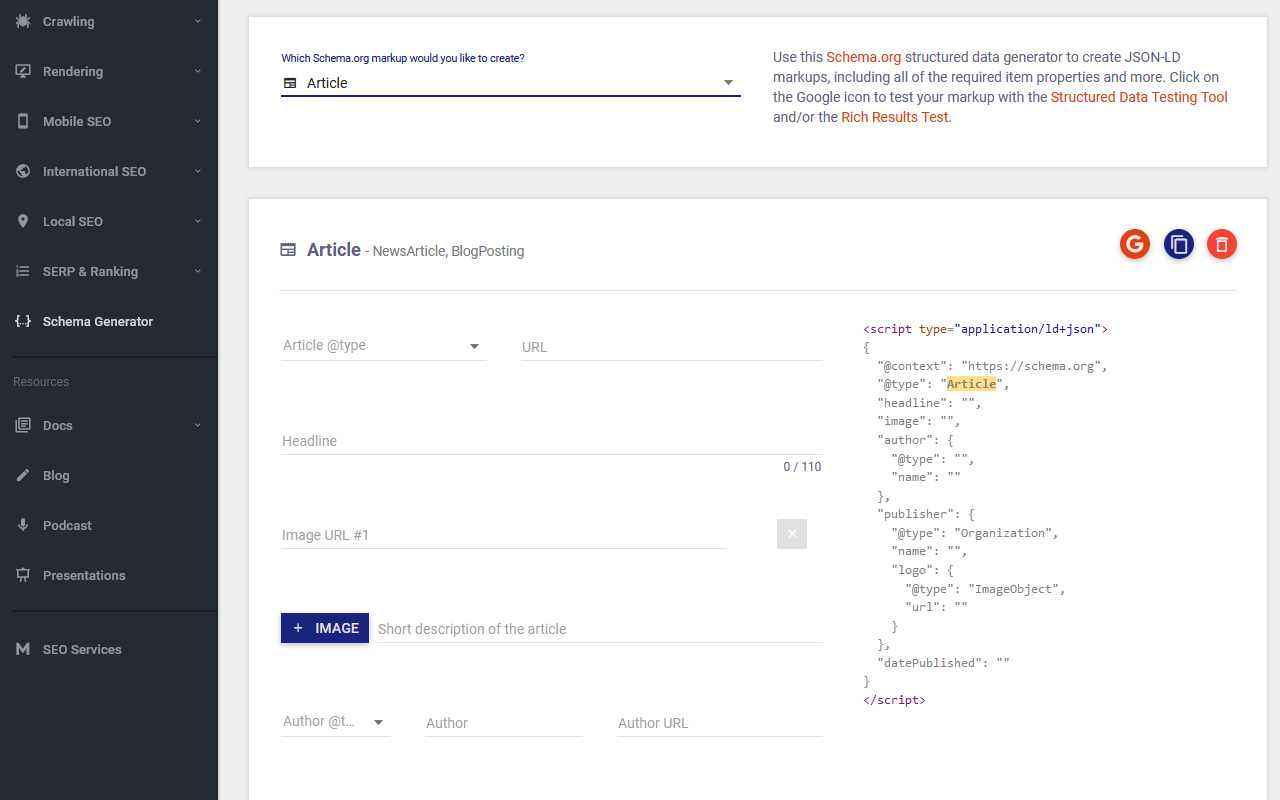
- After filling in the required information, copy the generated code as shown in the image.
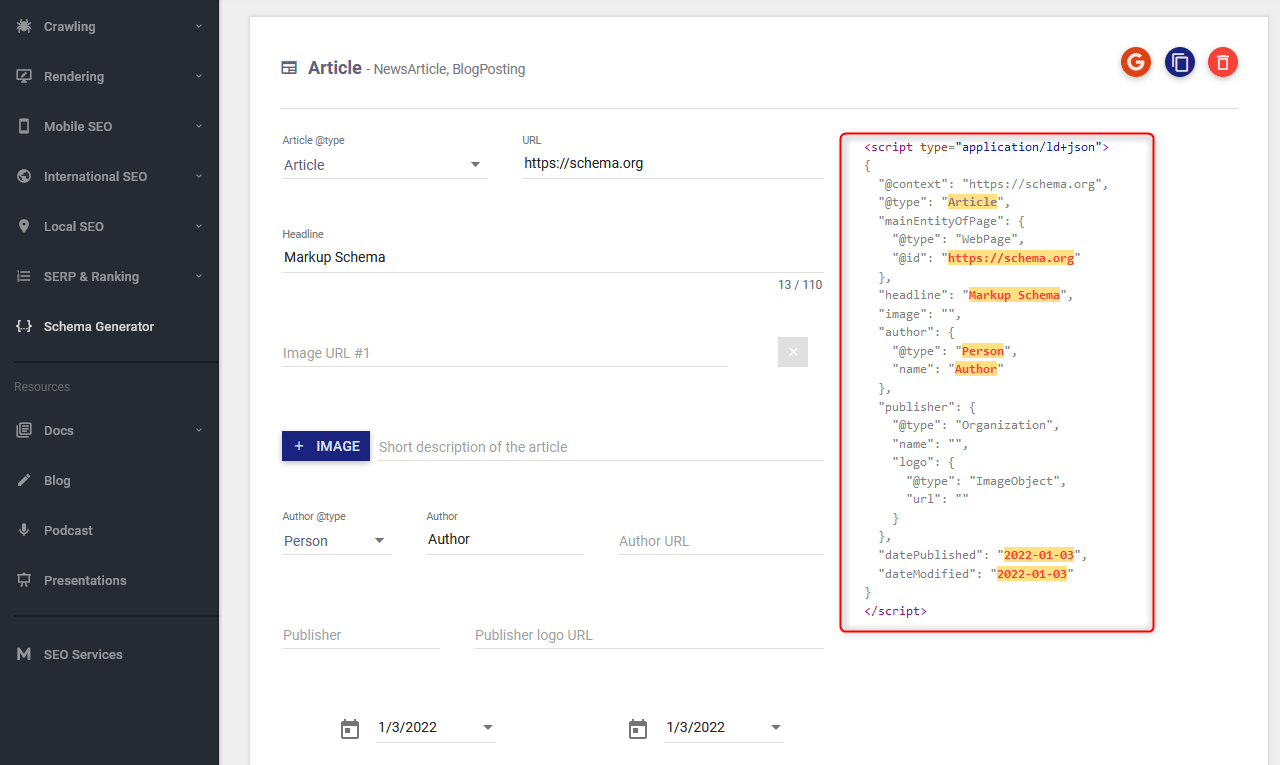
- Now you just need to paste the code in the <head> section of your website. You can manually paste that code in the header.php file of your website or you can add a plugin like Insert Headers and Footers to add the code.
How to Test the Schema Markup for a Website
Now let’s see how to test the schema markup that you have added to your website using Google Rich tool.
- Go to this tool provided by Google.

- Select the “URL” tab.
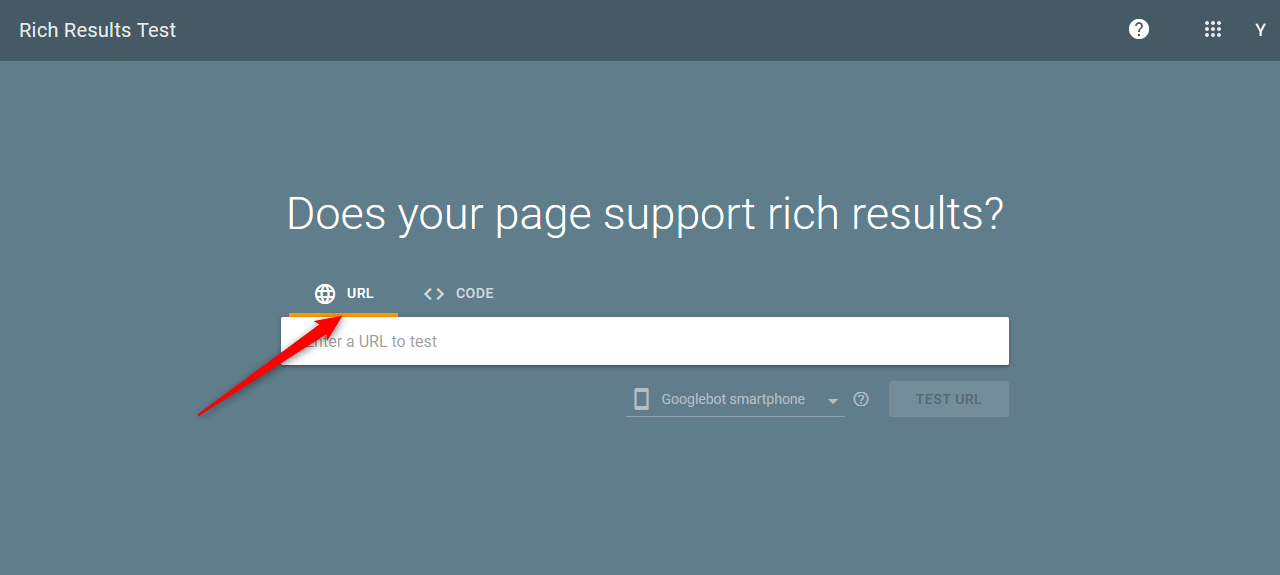
- Paste your website URL in the URL field and click on the “TEST URL” button.
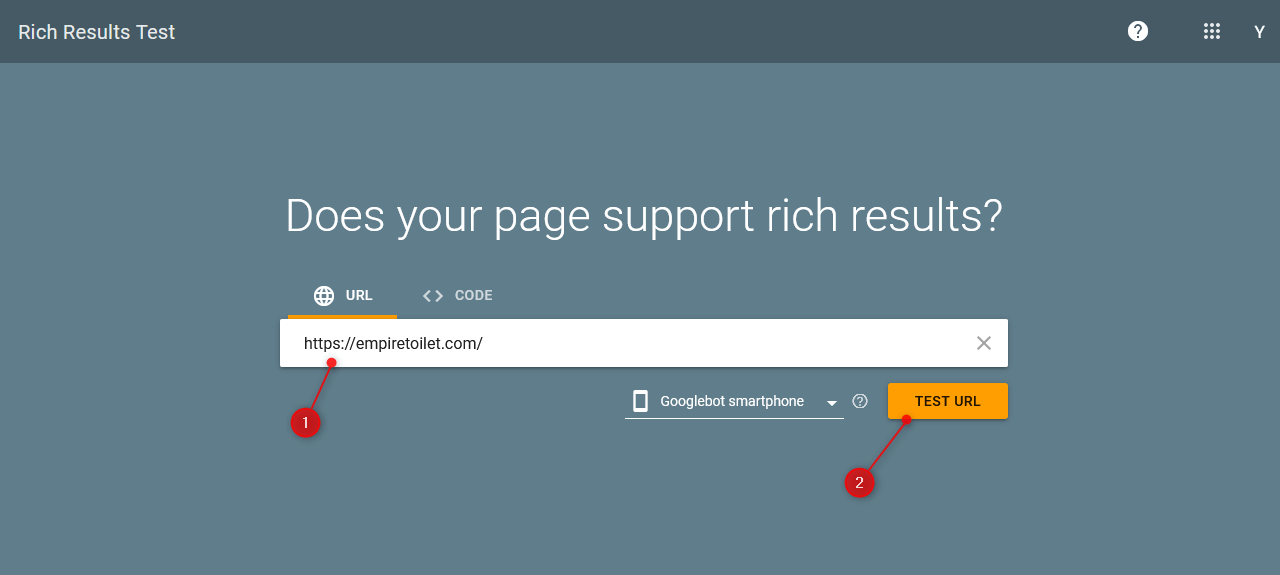
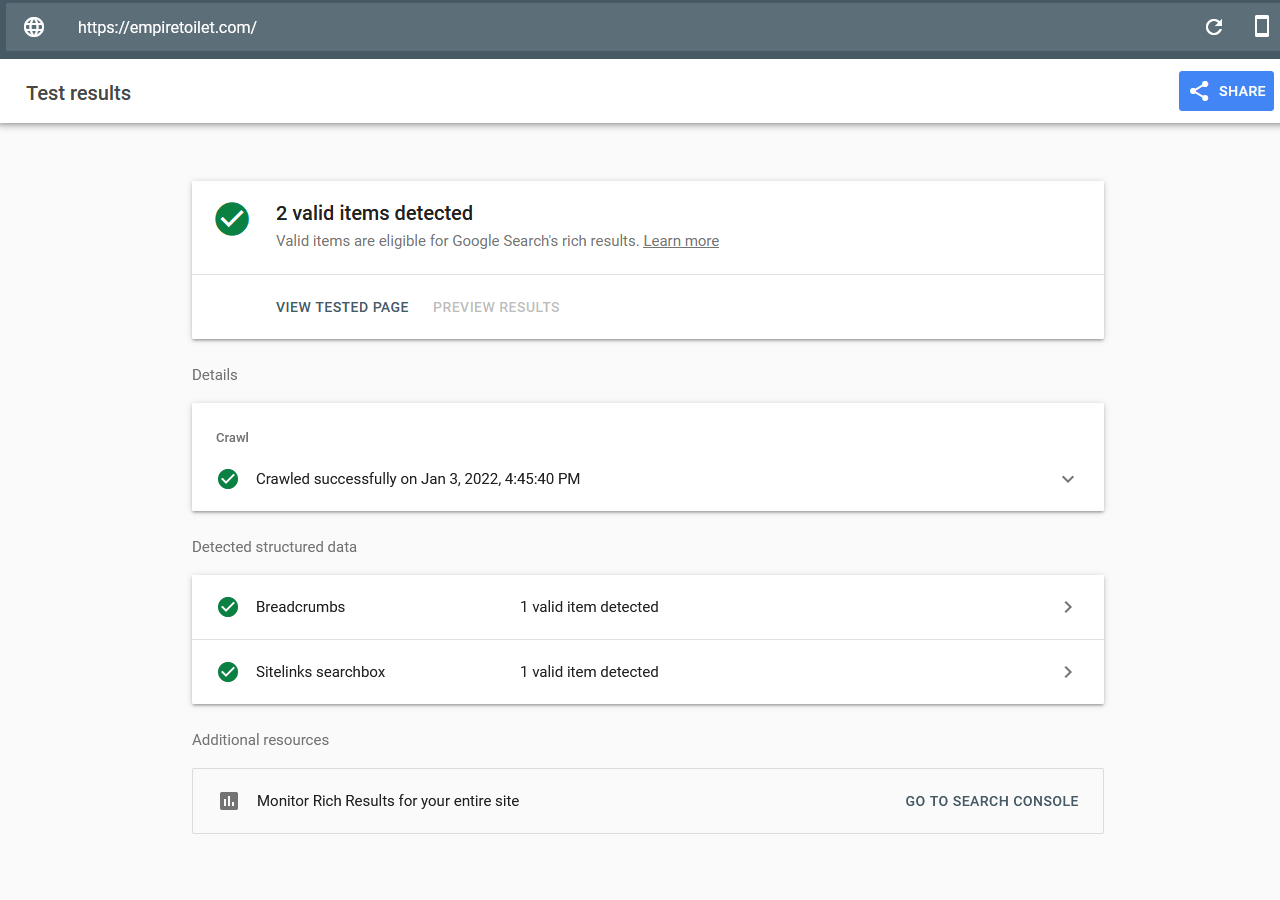
- The result page will show you all the structured data detected on your web page and will also identify which structured data is valid and which is invalid.
Wrapping Up
In this article, we have discussed what schema markup is and how it can increase the CTR, different types and formats of schema markup, how to implement schema markup on your website, and how to test the schema markup.
The article is written by Ain Ashely. She is a content writer and SEO expert. Presently, She is working on Empiretoilet.com. She has practically implemented all the methods of schema, and it helped her improve the website rankings.
If you want to get more WordPress and Web Hosting related video tutorials, subscribe now to our YouTube channel. You can also follow us on Twitter and Facebook to get more tutorials, tips, How to guides, reviews and much more about WordPress and Web Hosting.
